It was pretty easy, the chips are 100pins each but with flux you won't really have issues
![Smile :)](./images/smilies/icon_e_smile.gif)
All in all it took me about 40 minutes and I'm very pleased with the result.. I can now play Surreal 64ce (720p!), MAME, etc with minimal to no HDD thrashing
![Very Happy :D](./images/smilies/icon_e_biggrin.gif)
Pictures of the process!
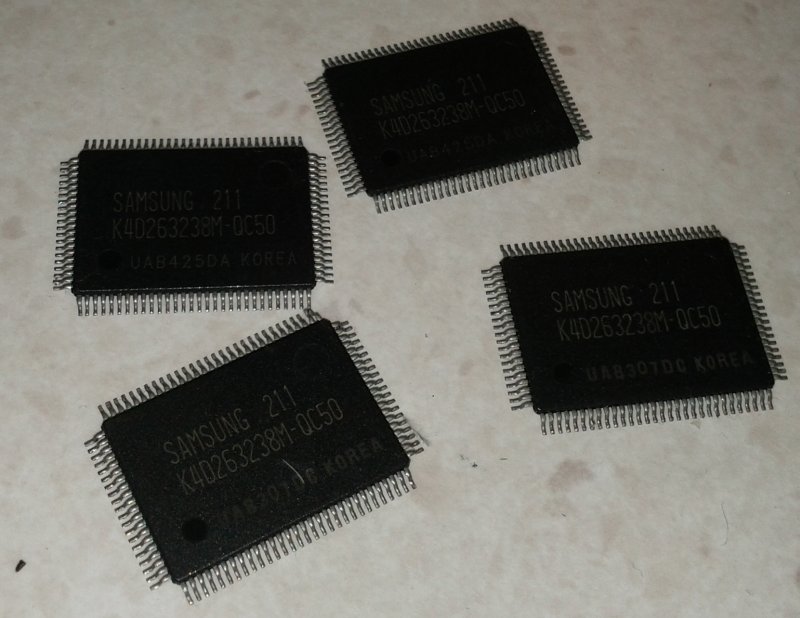
1. The 4 RAM chips (16MB x 4)
![Image](http://www.gc-forever.com/xbox128mb/1ramchips.jpg)
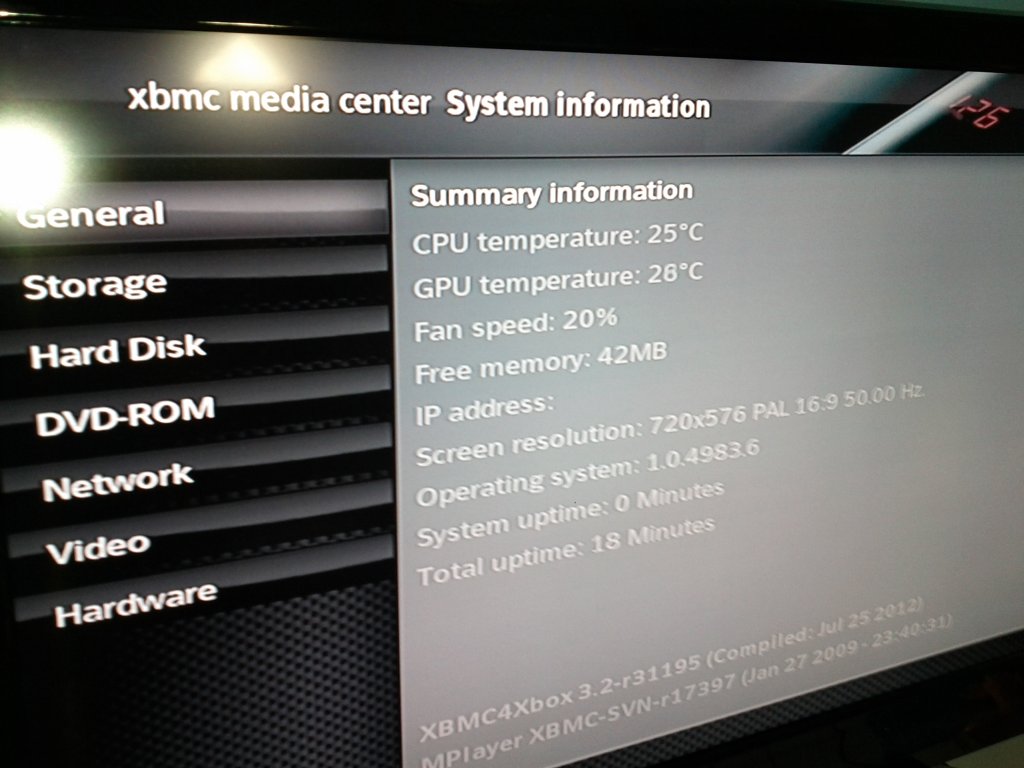
2. XBMC showing me that there's about 40mb free (most would have been paged to HDD)
![Image](http://www.gc-forever.com/xbox128mb/2xbmc64mb.jpg)
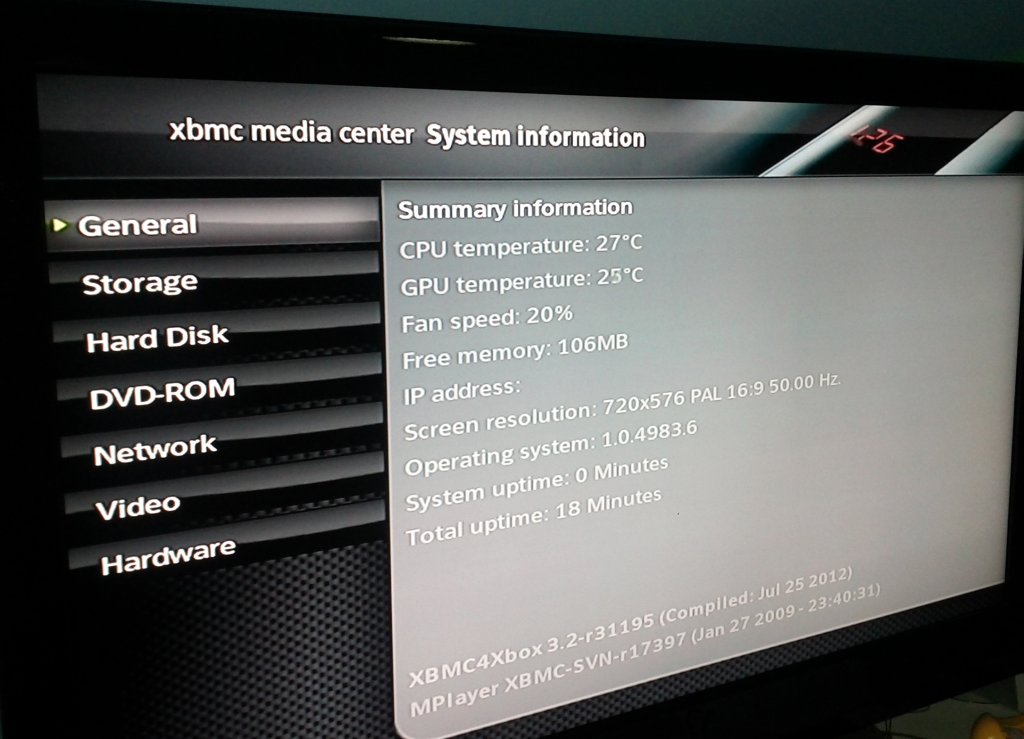
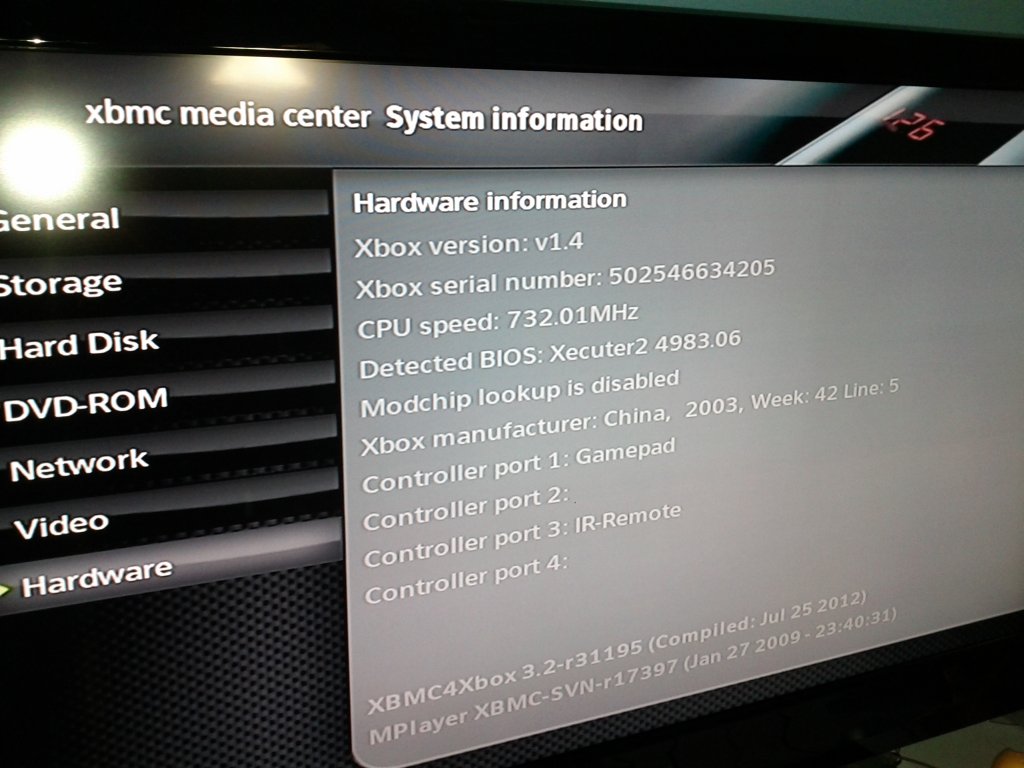
3. Additional XBMC info cause I felt like sharing
![Razz :P](./images/smilies/icon_razz.gif)
![Image](http://www.gc-forever.com/xbox128mb/3xbmcinfo.jpg)
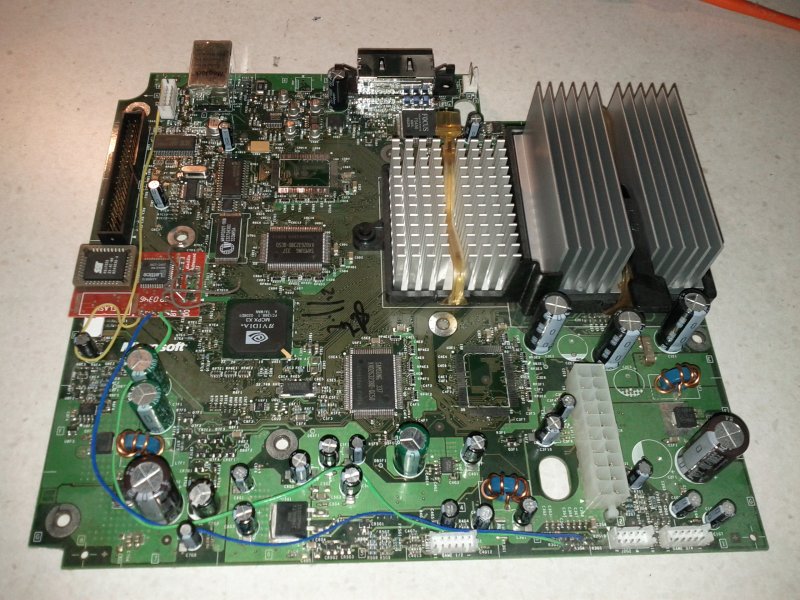
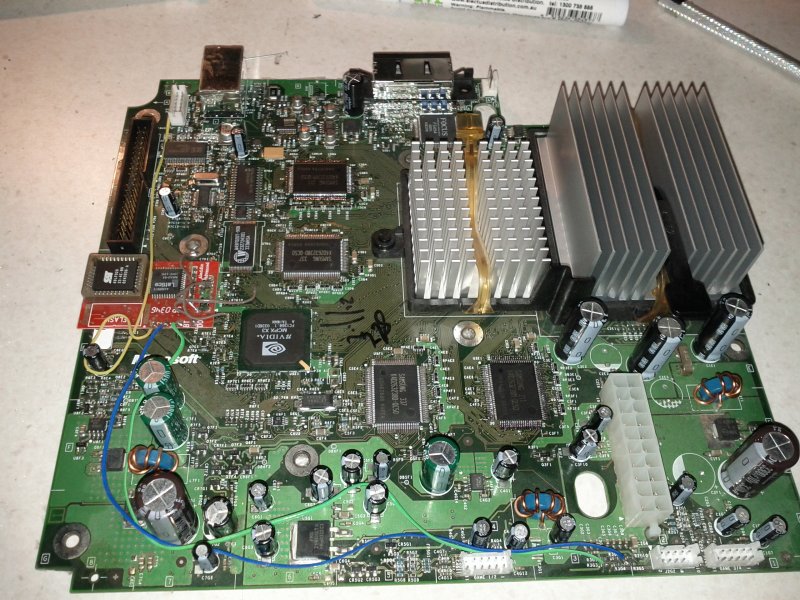
4. The mainboard removed, stock with the empty additional RAM spots - TOP.
![Image](http://www.gc-forever.com/xbox128mb/4mainboard64mb.jpg)
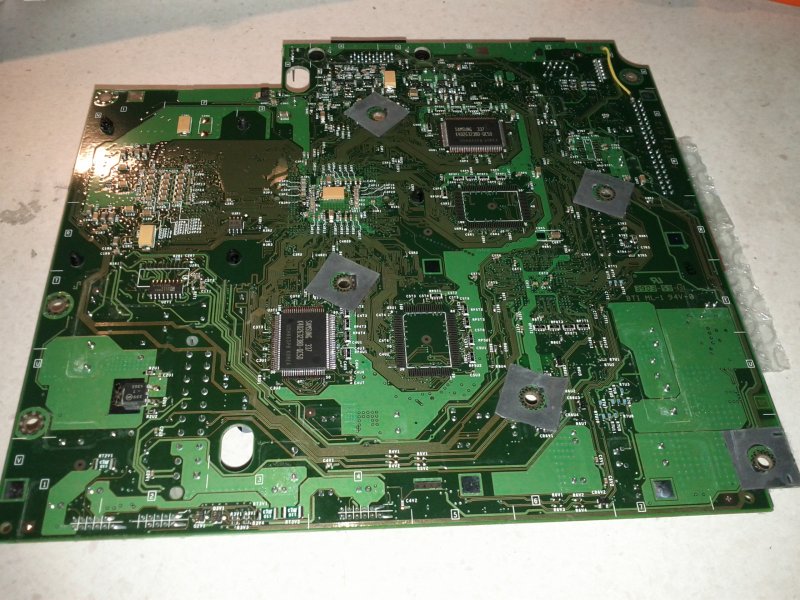
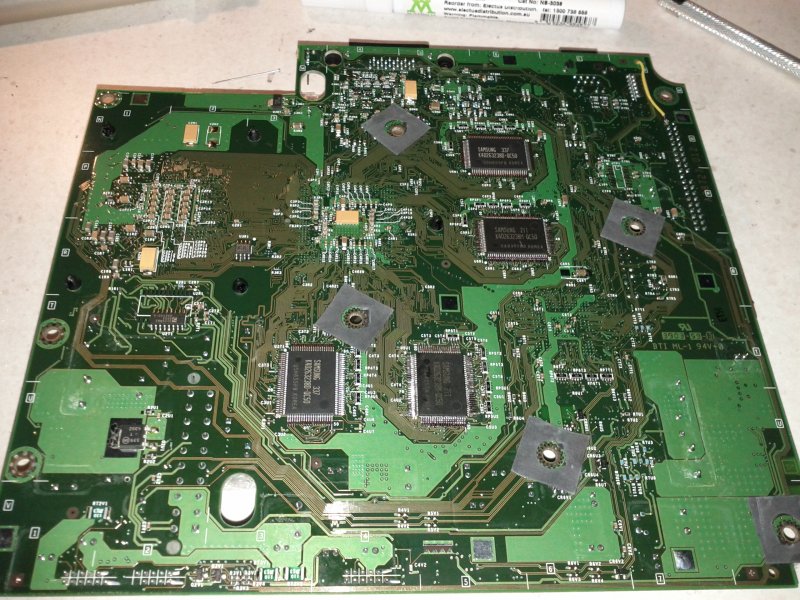
4b. The mainboard removed, stock with the empty additional RAM spots - BOTTOM.
![Image](http://www.gc-forever.com/xbox128mb/5mainboard64mbback.jpg)
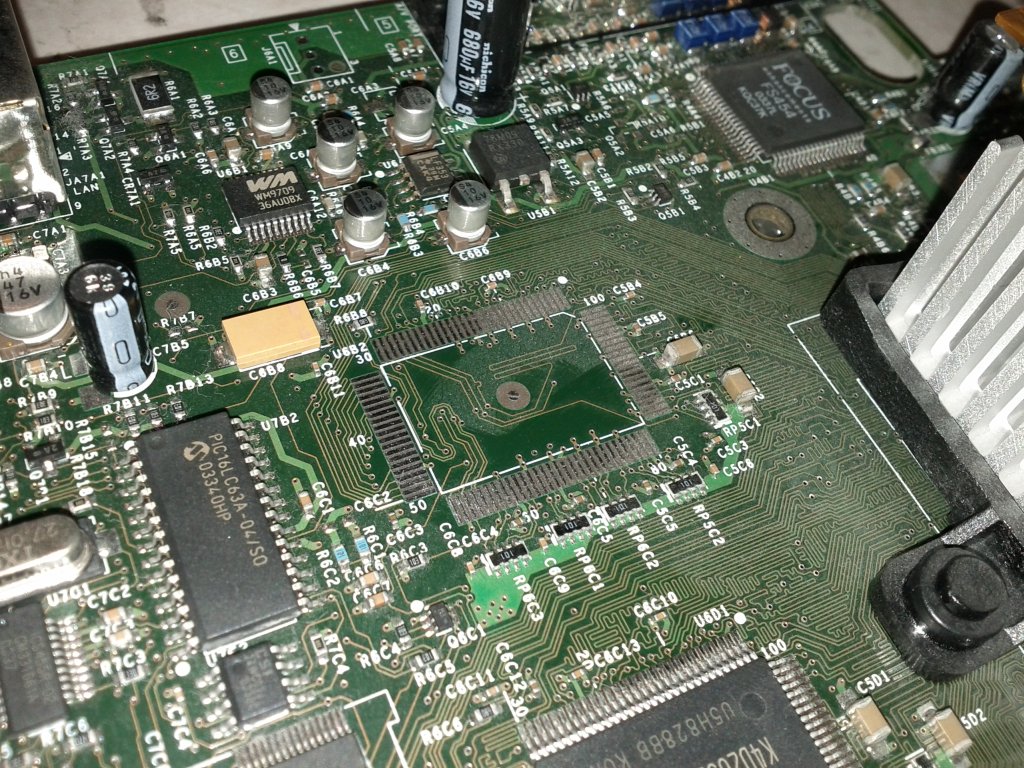
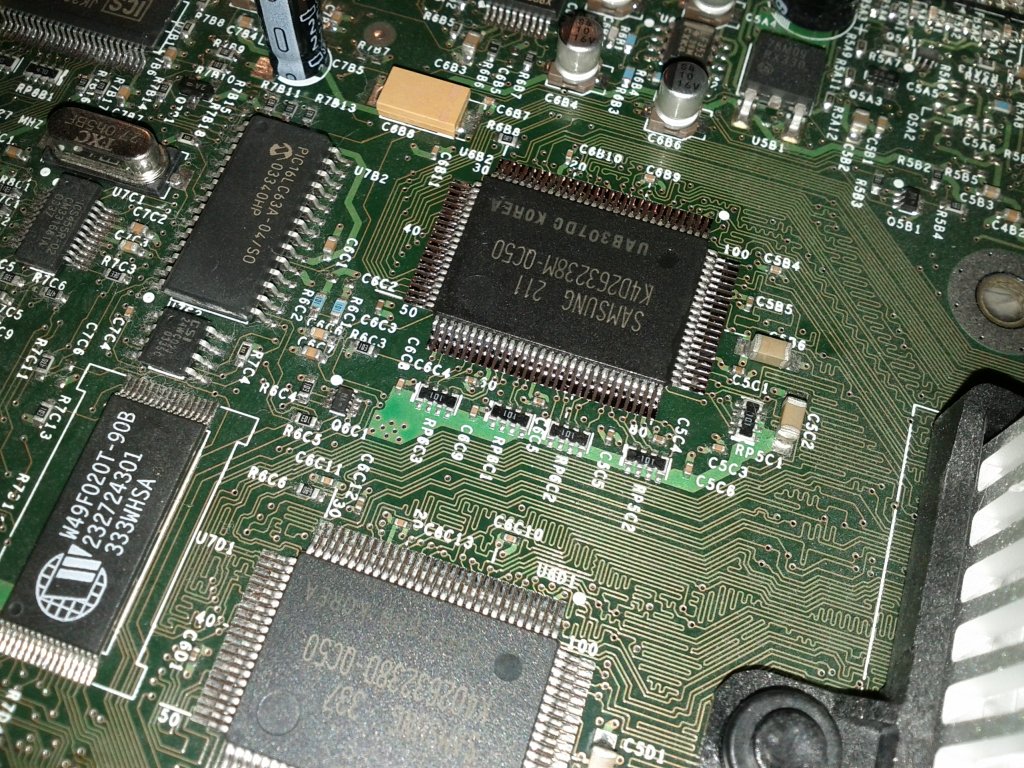
5. One of the empty RAM spots, board was a bit dusty! "before"
![Image](http://www.gc-forever.com/xbox128mb/6example-before.jpg)
5b. One of the chips freshly installed!
![Very Happy :D](./images/smilies/icon_e_biggrin.gif)
![Image](http://www.gc-forever.com/xbox128mb/6example-after.jpg)
6. The mainboard after, all RAM slots populated - TOP.
![Image](http://www.gc-forever.com/xbox128mb/6mainboard128mb.jpg)
6b. The mainboard after, all RAM slots populated - BOTTOM.
![Image](http://www.gc-forever.com/xbox128mb/7mainboard128mbback.jpg)
7. XBMC reporting 100MB+ free now
![Wink ;)](./images/smilies/icon_e_wink.gif)
![Image](http://www.gc-forever.com/xbox128mb/8xbmc128mb.jpg)